Bathroom Mould Prevention: Ventilation, Materials, and Habits
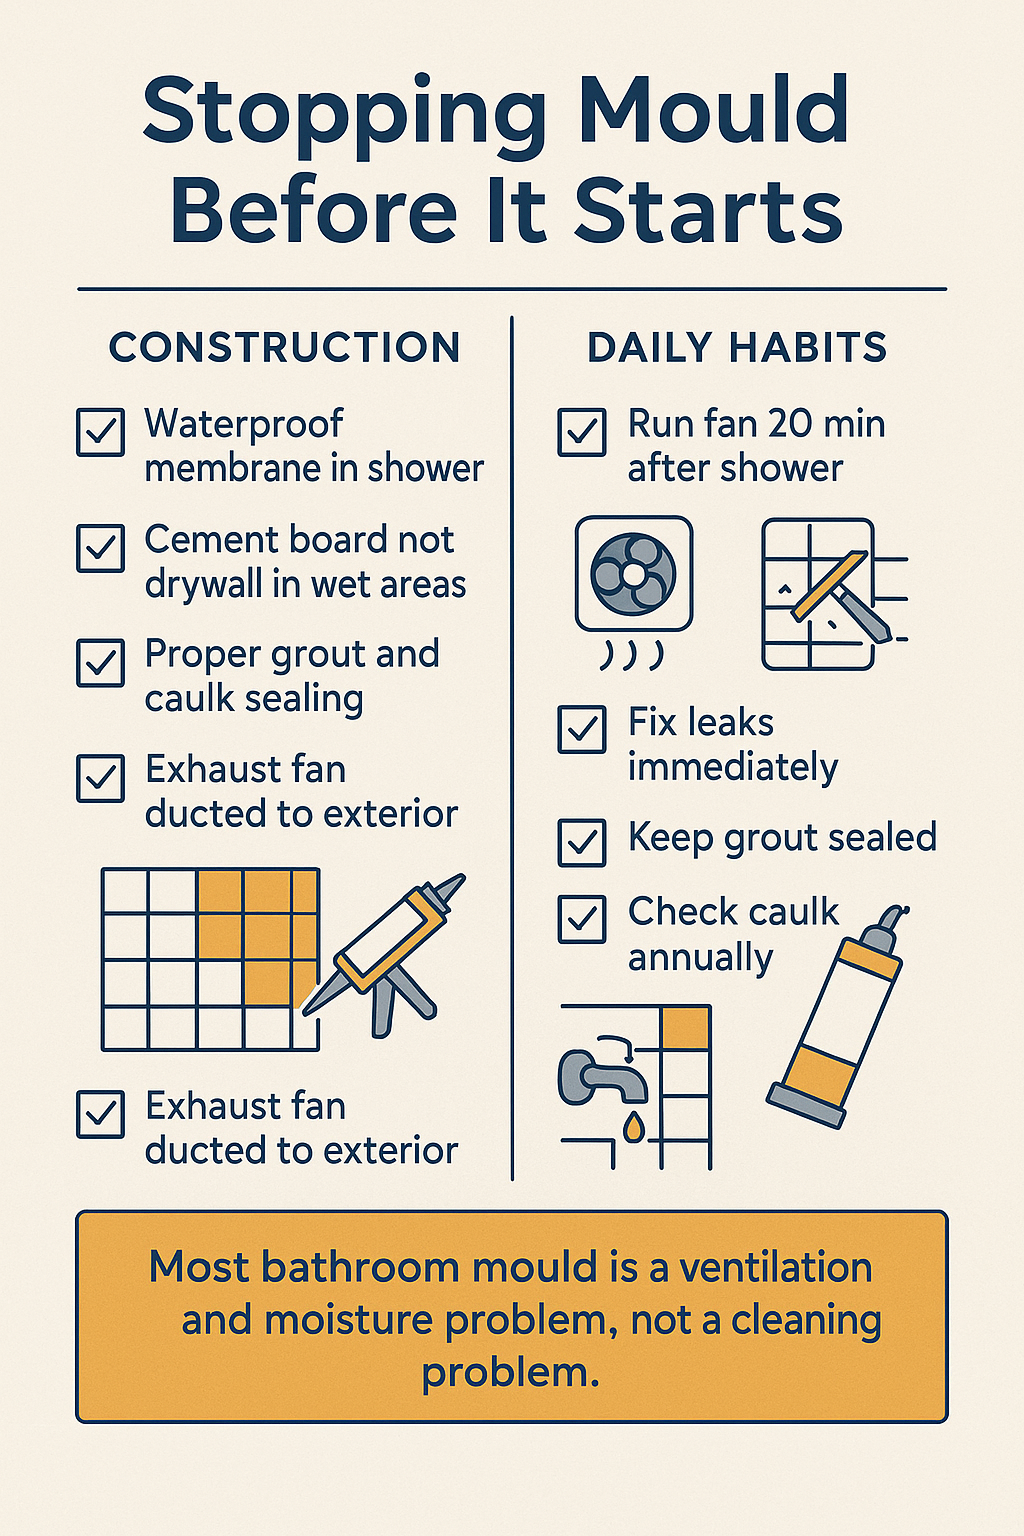
Bathroom mould is one of the most common and persistent homeowner complaints in Ottawa homes, particularly in winter when cold exterior walls, high indoor humidity, and inadequate ventilation create ideal mould conditions. Mould in a bathroom is not primarily a cleaning problem — it is a moisture problem. Cleaning mould from grout removes the visible growth, but if the moisture conditions that produced it remain, the mould returns within weeks.
Effective mould prevention requires addressing moisture at its source through three complementary approaches: adequate ventilation, mould-resistant material selection, and daily habits that reduce moisture accumulation.
Understanding Where Bathroom Mould Comes From
Bathroom mould grows where two conditions coexist: moisture and an organic food source. In a bathroom, the food source is almost everywhere — the organic content in dust, soap scum, skin cells, and even the paper facing on drywall. Eliminating organic material from a bathroom is not practical.
The moisture component is controllable. Bathroom mould grows most aggressively on:
- Grout lines in the shower and tub surround (porous surface, constant moisture exposure)
- Silicone caulk at tub-tile, shower-tile, and floor-wall junctions (organic material in aged silicone, constant moisture)
- Painted drywall above tile lines in poorly ventilated bathrooms (condensation on wall surface)
- Ceiling — particularly corners, where warm moist air rises and contacts the coldest ceiling surfaces
- Window frames and seals — condensation collects here in Ottawa winters
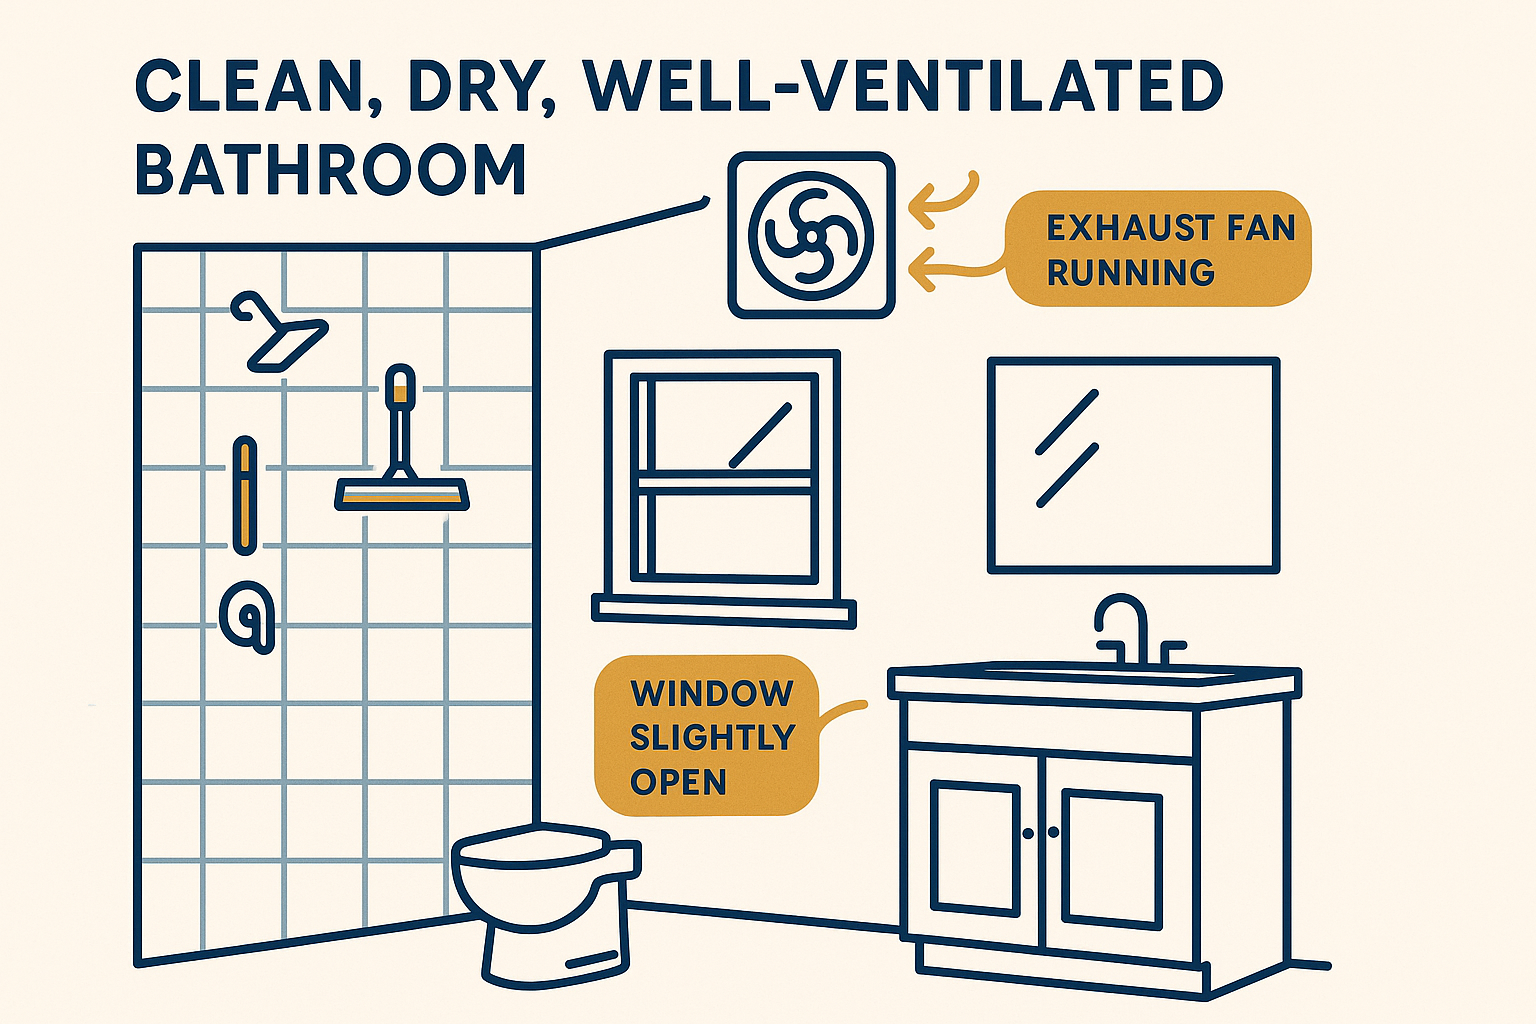
The Ventilation Foundation
No other mould prevention measure works reliably without adequate mechanical ventilation. A bathroom exhaust fan that runs for 15–20 minutes after a shower removes the moisture before it can condense on surfaces. A bathroom that exhausts moisture effectively has dramatically lower mould risk regardless of other conditions.
What “adequate” means:
– Fan sized appropriately for the bathroom (minimum CFM equal to bathroom square footage)
– Fan running during and for 15–20 minutes after every shower
– Fan duct terminating to the exterior (not the attic)
– Duct path reasonably efficient (not a long flex duct with multiple bends)
A timer switch or humidity sensor on the exhaust fan ensures the fan runs long enough without relying on occupant behaviour. This single change — adding a timer or humidity sensor — makes more difference to bathroom mould risk than most cosmetic or cleaning interventions.
Material Selection to Reduce Mould Risk
Material choices in a bathroom renovation affect mould vulnerability over the long term. Several choices are particularly relevant:
Tile and Grout
Epoxy grout vs. cement grout: Epoxy grout is non-porous — mould has no surface to penetrate. Standard cement grout is porous, absorbs moisture, and provides a substrate for mould growth unless regularly sealed. In direct wet-zone applications (shower floor, shower walls), epoxy grout is the mould-resistant choice. It costs more to install but reduces ongoing maintenance substantially.
Sealed cement grout: If cement grout is used, sealing it after installation and re-sealing annually significantly reduces porosity and mould vulnerability. This is a maintenance commitment that most homeowners accept but some do not maintain consistently.
Large-format tile: Fewer grout lines mean less surface area for mould to establish. A shower with 60×120 cm tiles has dramatically less grout surface than one with 10×10 cm mosaic tiles.
Substrate Materials
Mould-resistant drywall (greenboard or purple board): Using moisture-resistant drywall in non-wet-zone bathroom areas (above the tile line, behind vanity areas) provides better mould resistance than standard drywall. This is not waterproofing — these products are not appropriate for direct water exposure — but they resist the surface mould that grows on standard drywall in humid bathrooms.
Cement board substrate in wet zones: The non-organic composition of cement board (vs. standard drywall) provides no food source for mould, reducing mould growth in the event of waterproofing membrane failure.
Caulk vs. Grout at Transitions
All inside corner junctions — floor-to-wall, tub-to-tile, shower curb-to-tile — should be caulked with a mould-resistant silicone caulk rather than grouted. Grouted corners crack as the floor and walls move independently, allowing water behind the tile. Silicone caulk is flexible, fills movement cracks, and quality mould-resistant silicone contains antimicrobial agents.
Caulk deteriorates and should be replaced every 3–5 years in a regularly used shower.
Paint Selection
For painted bathroom walls and ceilings (outside the tile zone), use a bathroom-specific paint with mould inhibitors and a semi-gloss or satin finish. Flat paint absorbs moisture; semi-gloss and satin finishes repel it. Mould-inhibiting additives (available as separate products or built into bathroom-specific paints like Zinsser Perma-White) significantly reduce surface mould growth on painted bathroom walls.
Daily Habits That Reduce Mould Risk
Run the exhaust fan. During every shower and for 15–20 minutes after. A timer switch makes this automatic.
Squeegee the shower walls after showering. Removing standing water from tile surfaces after each use dramatically reduces the moisture available for mould growth. A $5–$15 window squeegee mounted inside the shower is one of the highest-impact maintenance tools available.
Leave the shower door or curtain open after showering. Trapped humid air inside a closed shower enclosure takes hours to dry out. An open shower allows the exhaust fan to clear moisture from the enclosure.
Address caulk deterioration immediately. A cracked or peeling caulk joint is a direct path for water behind the tile. Re-caulking before water infiltrates is far easier than addressing water damage after the fact.
Fix leaking fixtures promptly. A dripping faucet or a slow leak at the base of a toilet creates chronic moisture at a localized area — ideal mould conditions that extend beyond the normally wet zones.
When Prevention Has Already Failed
Visible mould on grout surface or caulk can often be addressed with a 1:4 bleach solution (1 part bleach to 4 parts water), applied, left for 10 minutes, and scrubbed. Repeated application is sometimes needed for deep grout staining. Bleach-based tile cleaners (OxiClean, Tilex, CLR Mould & Mildew) are effective for surface mould.
Mould that recurs within weeks of cleaning — despite improved ventilation — may indicate mould behind the tile, not just on the surface. This requires opening the shower wall to inspect and remediate.
For a full bathroom renovation in Ottawa that addresses chronic mould issues through proper waterproofing and ventilation, our team at Miracle Dream Homes handles the complete scope. Learn more at our bathroom renovation page or our tub-to-shower conversion page.
For guidance on residential mould assessment and remediation, Canada Mortgage and Housing Corporation (CMHC) provides authoritative homeowner resources on indoor mould, and Health Canada provides health guidance on indoor mould exposure.
Frequently Asked Questions
What is the most effective way to prevent mould in a bathroom shower?
The most effective single measure is adequate mechanical ventilation — a properly sized exhaust fan running during and for 15–20 minutes after every shower, with the duct venting to the exterior. Combined with epoxy grout and regular silicone caulk maintenance, this prevents the moisture conditions that allow mould to establish.
Does mould-resistant paint actually work in bathrooms?
Yes, for painted surfaces. Bathroom-specific paints with mould inhibitors (Zinsser Perma-White, Benjamin Moore Bath and Spa, Sherwin-Williams Emerald with Mould-Resistance) significantly reduce surface mould growth on walls and ceilings. They are not a replacement for ventilation — they reduce mould on the paint surface, not behind the tile or in the wall cavity.
How long does silicone caulk last in a shower before it needs replacing?
Quality silicone caulk in a regularly used shower typically lasts 3–5 years before it begins to deteriorate visibly (discolouration, cracking, pulling away from the tile). Once caulk shows these signs, it should be replaced promptly — deteriorated caulk no longer seals effectively and allows water behind the tile.
Is mould behind shower tile a serious problem?
Yes. Mould behind the tile indicates waterproofing failure and potentially structural damage to the substrate, framing, or subfloor. It cannot be addressed through surface cleaning — the shower must be opened to the substrate, the mould remediated, and the shower rebuilt with proper waterproofing. This is one of the most expensive bathroom repair scenarios and is the direct consequence of inadequate original waterproofing.