Bathroom Exhaust Fan Maintenance: Cleaning, Testing, and Replacement
A bathroom exhaust fan is the primary moisture control system in the bathroom. When it works well, it removes humid air from showering before it condenses on walls, grout, and tile — preventing the mould, mildew, and surface damage that result from chronic moisture exposure. When it is dirty, failing, or undersized, it fails at this function regardless of how long it runs.
Most bathroom exhaust fans receive no maintenance until they fail completely. Regular cleaning and a simple performance test keep the fan working as intended and extend its service life.
How Exhaust Fans Fail
Exhaust fan performance degrades through two primary mechanisms:
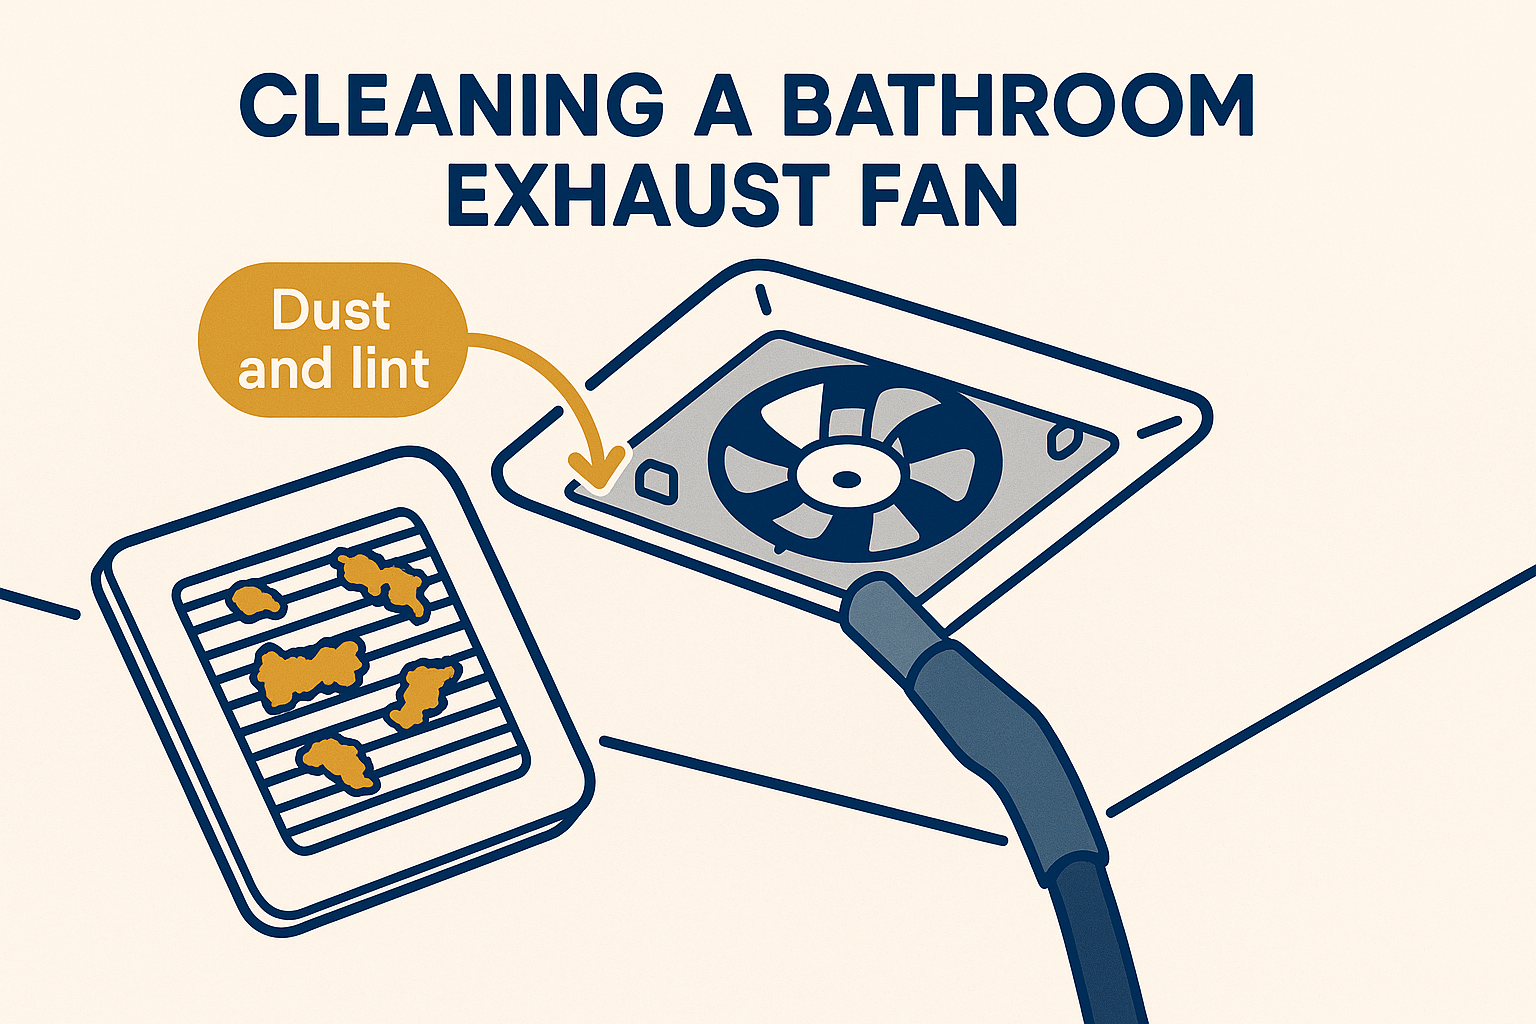
Dust accumulation on the grille and fan blades. The grille cover and fan impeller accumulate dust and lint over time. A heavily dust-coated fan moves significantly less air than a clean fan — in some cases less than half the rated CFM (cubic feet per minute). The motor works harder to push air through the restricted flow path, generating more heat and shortening motor life.
Duct obstruction. The exhaust duct from the fan to the exterior vent accumulates dust and lint in the duct walls. A flex duct with excessive bends or runs that exceed the manufacturer’s specifications provides too much resistance for the fan motor to overcome. Backdraft dampers at the exterior vent can stick closed or become stuck open (allowing cold air infiltration in winter).
Both failure modes reduce the effective CFM delivered to the exterior — the only thing that matters for moisture control. A fan rated at 110 CFM that delivers 30 CFM to the exterior due to duct resistance or dust accumulation is effectively an undersized fan.
Cleaning the Exhaust Fan
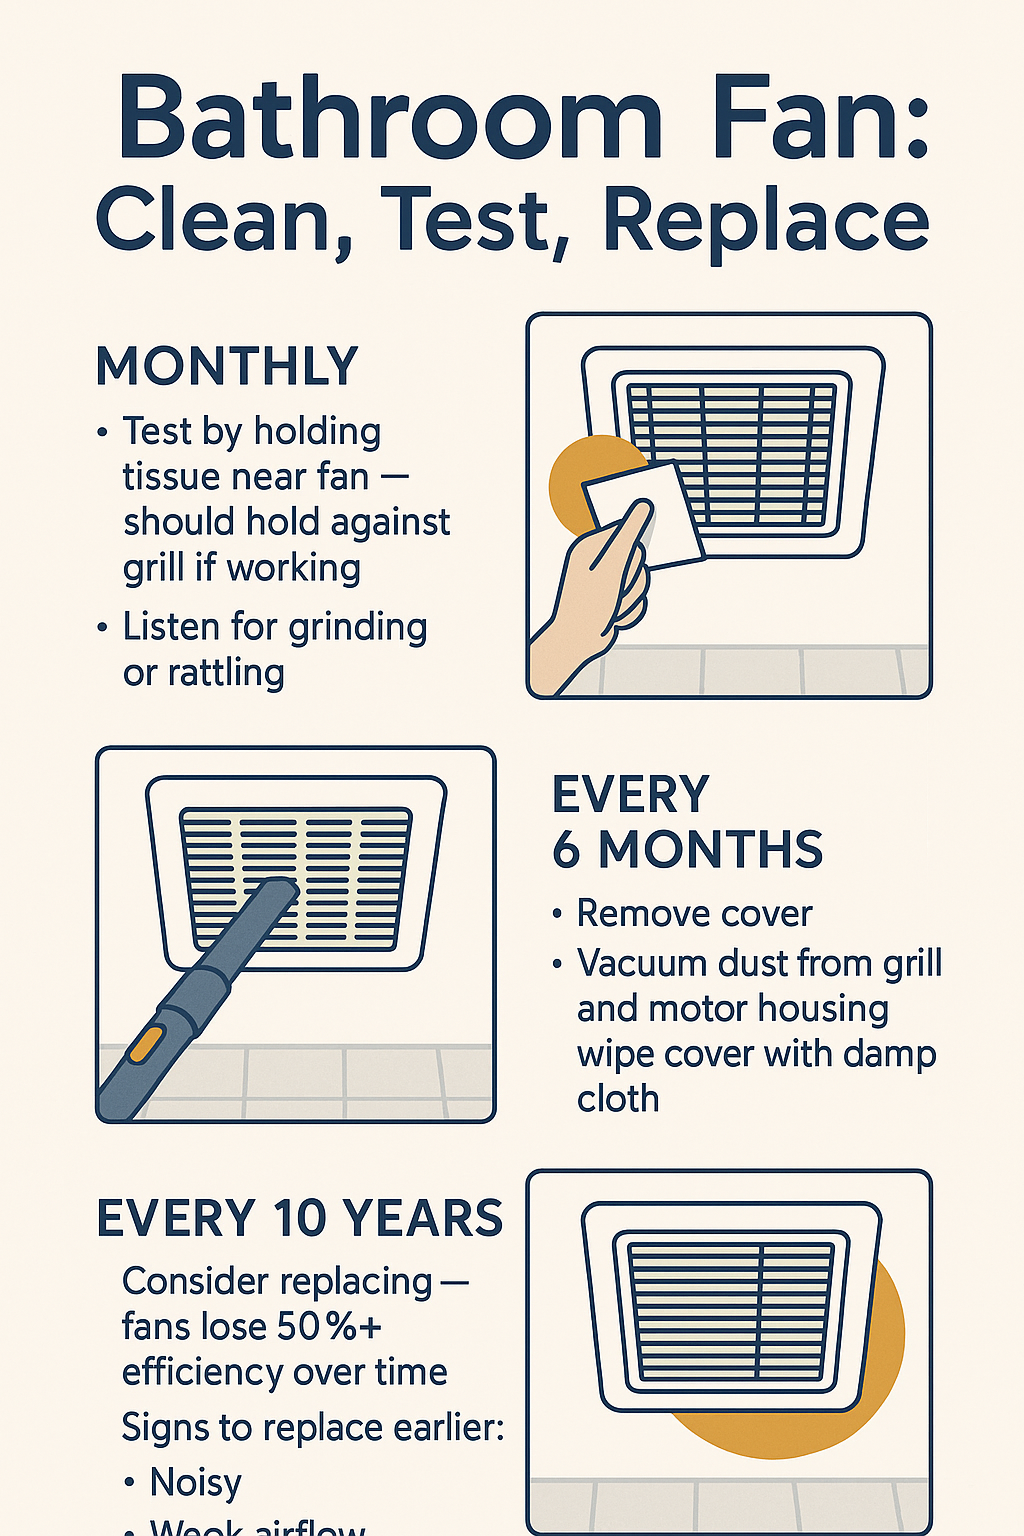
Frequency: Clean the grille cover every 6 months. Clean the fan impeller and housing annually.
Tools needed:
– Vacuum with brush attachment
– Mild all-purpose cleaner or dilute dish soap
– Soft cloth or sponge
Grille cover (every 6 months):
- Turn off the power to the fan at the circuit breaker or wall switch. For fans on a timer switch, turn the switch to off.
- Pull the grille cover straight down — most covers clip onto the housing and pull off without tools. Some models have a retaining screw or clip.
- Wash the cover in warm soapy water, rinse, and allow to dry completely before reinstalling.
- Vacuum the grille opening and accessible fan housing before reinstalling the cover.
Fan impeller and housing (annually):
- Turn off the power at the circuit breaker.
- Remove the grille cover.
- Unplug the fan motor from the housing (most residential fans have a plug connector inside the housing) or disconnect the wiring if no plug is present. If you are not comfortable with basic electrical work, clean only with the power off and the grille cover removed — do not disconnect wiring.
- Remove the fan motor/impeller assembly from the housing — typically held by one or two retaining clips or screws.
- Use a vacuum with a brush attachment to clean the impeller blades and housing. A compressed air canister works for detail cleaning.
- Wipe the motor housing with a damp cloth. Do not apply water directly to the motor.
- Reassemble and restore power.
Testing Fan Performance
The Tissue Test
Hold a single sheet of tissue paper against the grille cover while the fan is running. If the fan holds the tissue firmly against the grille, airflow is adequate for basic function. If the tissue falls away or barely holds, the fan is significantly underperforming.
This is a rough qualitative test — it confirms whether the fan is moving air, but not whether it is moving the rated CFM. It is a useful quick check between deeper cleanings.
The Smoke Test
Light a stick of incense or a smoke source near the shower and observe whether the smoke is drawn to and through the grille cover when the fan runs. This tests whether the fan is creating negative pressure in the bathroom, drawing air from the shower zone — the basic function required for moisture control.
Anemometer Measurement
A digital anemometer (available for $20–$40) held at the grille face while the fan runs provides a face velocity reading that can be converted to approximate CFM based on the grille area. Compare the measured CFM to the fan’s rated CFM. A measured value below 70–75% of rated indicates significant performance degradation from dust or duct resistance.
When to Replace the Exhaust Fan
Replace the fan when:
- The motor makes grinding, squealing, or rattling noises after cleaning
- The impeller no longer spins freely — bearings have failed
- The fan vibrates excessively (motor imbalance)
- Cleaning does not restore adequate airflow (duct resistance is the problem — fan replacement alone will not fix the duct)
- The fan is more than 10–15 years old and performance is declining
Sizing the replacement: When replacing a bathroom exhaust fan, the Home Ventilating Institute (HVI) recommends a minimum of 1 CFM per square foot of bathroom floor area, with a minimum of 50 CFM for bathrooms up to 50 square feet. For bathrooms with high ceilings, long duct runs, or high moisture loads (large showers, steam showers), sizing up to 1.5–2 CFM per square foot improves performance.
For a bathroom that has had chronic moisture problems, replacing an undersized fan with a properly sized unit — and verifying that the duct terminates at the exterior and is clear of obstructions — is often the most effective single maintenance intervention.
Duct Inspection
For a fan that is clean but still underperforms, the duct is the likely cause:
- Confirm the duct terminates at an exterior vent (not into the attic or wall cavity)
- Inspect the exterior vent damper — it should open freely when the fan runs and close when it stops
- Check for excessive bends or length in the flex duct — each 90° bend reduces effective CFM by approximately 15–20%
- In Ottawa’s climate, condensation can freeze in exterior duct sections in winter — ice buildup in the duct restricts airflow and should be cleared
For bathroom renovation services including exhaust fan specification and installation in Ottawa, our team at Miracle Dream Homes ensures proper fan sizing and exterior venting as part of any bathroom renovation scope. For basement bathrooms with complex venting requirements, see our basement bathroom renovation page.
For exhaust fan CFM standards and product certification, the Home Ventilating Institute (HVI) publishes the certified product directory for residential exhaust fans, including third-party tested CFM ratings.
Frequently Asked Questions
How often should I clean my bathroom exhaust fan?
Clean the grille cover every 6 months by removing and washing it. Clean the fan impeller and housing annually. If the bathroom is used heavily (multiple daily showers) or if the home is dusty, clean more frequently. A visibly dust-coated grille is a sign that cleaning is overdue — the visible dust on the grille is a proxy for the dust on the impeller blades.
Why is my bathroom exhaust fan so loud?
Increased noise usually means one of three things: the fan bearings are wearing out (grinding, squealing), the impeller is unbalanced from dust accumulation (vibration and rattling), or the backdraft damper is flapping from strong airflow (flapping or ticking). Clean the fan first — impeller imbalance from dust causes vibration and noise that cleaning resolves. Bearing failure noise (grinding) indicates motor replacement is needed. A noisy backdraft damper can sometimes be adjusted; otherwise the fan needs replacement.
How do I know if my bathroom exhaust fan is venting to the outside?
On a cold day, hold your hand near the exhaust vent on the exterior while the fan runs — you should feel warm, moist air exiting. Alternatively, check the attic or ceiling space to confirm the duct terminates at an exterior vent rather than venting freely into the attic space. Fans venting into the attic (a common incorrect installation) pump warm moist air into the attic, causing condensation, rot, and mould in the roof structure. This must be corrected — extend the duct to an exterior vent point.
What is the difference between sone ratings and how loud a fan is?
Sone rating measures fan noise. One sone is approximately equivalent to the sound of a quiet refrigerator. A 1-sone fan is very quiet; a 4-sone fan is noticeably loud. Most older exhaust fans rate at 3–4 sones or higher. Modern premium fans (Panasonic WhisperCeiling, Broan-NuTone QT series) achieve 0.3–1.0 sones — barely audible in normal bathroom use. If fan noise is a concern, look for a fan rated at 1.5 sones or below.