How to Caulk a Bathroom: When to Do It and How to Get a Clean Line
Caulk is the flexible sealant applied at joints where two surfaces meet in the bathroom — where tile meets the tub rim, where the wall tile meets the floor tile, where the vanity meets the wall. These joints cannot be grouted because grout is rigid and cracks when the surfaces move slightly with temperature and humidity changes. Caulk flexes with the movement and maintains the seal.
Failed caulk — caulk that has cracked, pulled away from the surface, or grown mildew through its core — allows water to reach the substrate behind and under the tile. This is one of the most common causes of structural damage in bathrooms and the source of the black mildew that many homeowners mistake for a cleaning problem.
Re-caulking a bathroom is a maintenance task that most homeowners can do themselves with the right materials and technique.
When to Re-Caulk
Inspect bathroom caulk annually. Recaulk when you see:
- Cracks or gaps in the caulk line where the seal has broken
- Caulk pulling away from the tile or fixture surface along one or both edges
- Mildew through the caulk — black or grey discoloration throughout the caulk body, not just on the surface (surface mildew can be cleaned; mildew throughout the core cannot)
- Soft or crumbling caulk that has lost its elasticity and adhesion
- Significant colour change that does not clean off
The caulk at the tub-to-wall joint and the shower floor-to-wall joint receives the most stress and typically needs replacement every 3–5 years in an active bathroom. Caulk at lower-stress joints (vanity to wall, toilet base) may last longer.
Where Caulk Belongs in a Bathroom
Always caulk, never grout:
- Tub rim to tile wall (the joint where the tub edge meets the wall tile)
- Shower floor to shower wall (the inside corners in a shower)
- Change of plane anywhere in the shower (inside corners, floor-to-wall transitions)
- Vanity countertop to tile backsplash
- Sink rim to counter (undermount sinks) or sink rim to vanity top (drop-in sinks)
- Toilet base to floor (the perimeter)
- Fixture penetrations through tile (shower valve escutcheon, etc.)
These joints all experience movement. Grout at these locations cracks within months of installation; caulk is the correct material.
Choosing the Right Caulk
100% Silicone Caulk
Silicone caulk is the best-performing caulk for wet-zone bathroom joints. It is:
- Fully waterproof
- Highly flexible — maintains adhesion through significant surface movement
- Mould-resistant formulations available specifically for bathroom use
- Does not shrink or crack over time the way latex caulks do
Disadvantage: Silicone is harder to tool and paint, and it requires a clean, dry surface for adhesion. It cannot be painted. It requires mineral spirits or acetone for cleanup (not water). Old silicone must be fully removed before new silicone is applied — silicone does not adhere well to existing silicone.
Best for: Tub-to-wall joints, shower floor-to-wall joints, all wet-zone applications.
Siliconized Latex (Acrylic Latex with Silicone)
Siliconized latex caulk is a latex-based caulk with silicone additives. It is:
- Easier to apply and tool than pure silicone
- Paintable
- Water-cleanup for tools
- Less flexible and less durable than pure silicone over time
Best for: Vanity-to-wall joints, mirror frame caulking, low-moisture joints where paintability matters. Not ideal for wet-zone applications in active showers.
Colour Matching
Most major caulk manufacturers (Loctite, DAP, Sashco, GE) produce caulk in colours designed to match standard grout colours (white, almond, grey, biscuit, custom grout colours). Matching the caulk colour to the grout colour at installation produces a cleaner result.
For coloured grout, use a matching or complementary caulk — a white caulk line against grey grout is visible and reads as mismatched.
How to Remove Old Caulk
Complete removal of old caulk is essential. New caulk applied over old caulk does not bond properly and lifts within months.
Tools needed:
– Utility knife or oscillating tool with a flush-cut blade
– Caulk removal tool (plastic scraper designed to follow the tile joint)
– Mineral spirits or caulk remover solvent (for silicone residue)
– Clean cloth or paper towels
Process:
1. Score along both edges of the existing caulk with a utility knife to separate it from the tile surfaces
2. Pull the caulk body out — it often comes in strips once scored
3. Remove remaining caulk residue with a plastic scraper (not a metal scraper, which can scratch tile and tub surfaces)
4. For silicone residue: apply mineral spirits or a commercial silicone remover, allow to soak, then wipe and scrub with a cloth
5. Allow the joint to dry completely — minimum 24 hours — before new caulk is applied
How to Apply Caulk
Tools needed:
– Caulk gun (for tubed caulk) or squeeze tube
– Painter’s tape
– Plastic smoothing tool or damp finger
– Clean cloths
Process:
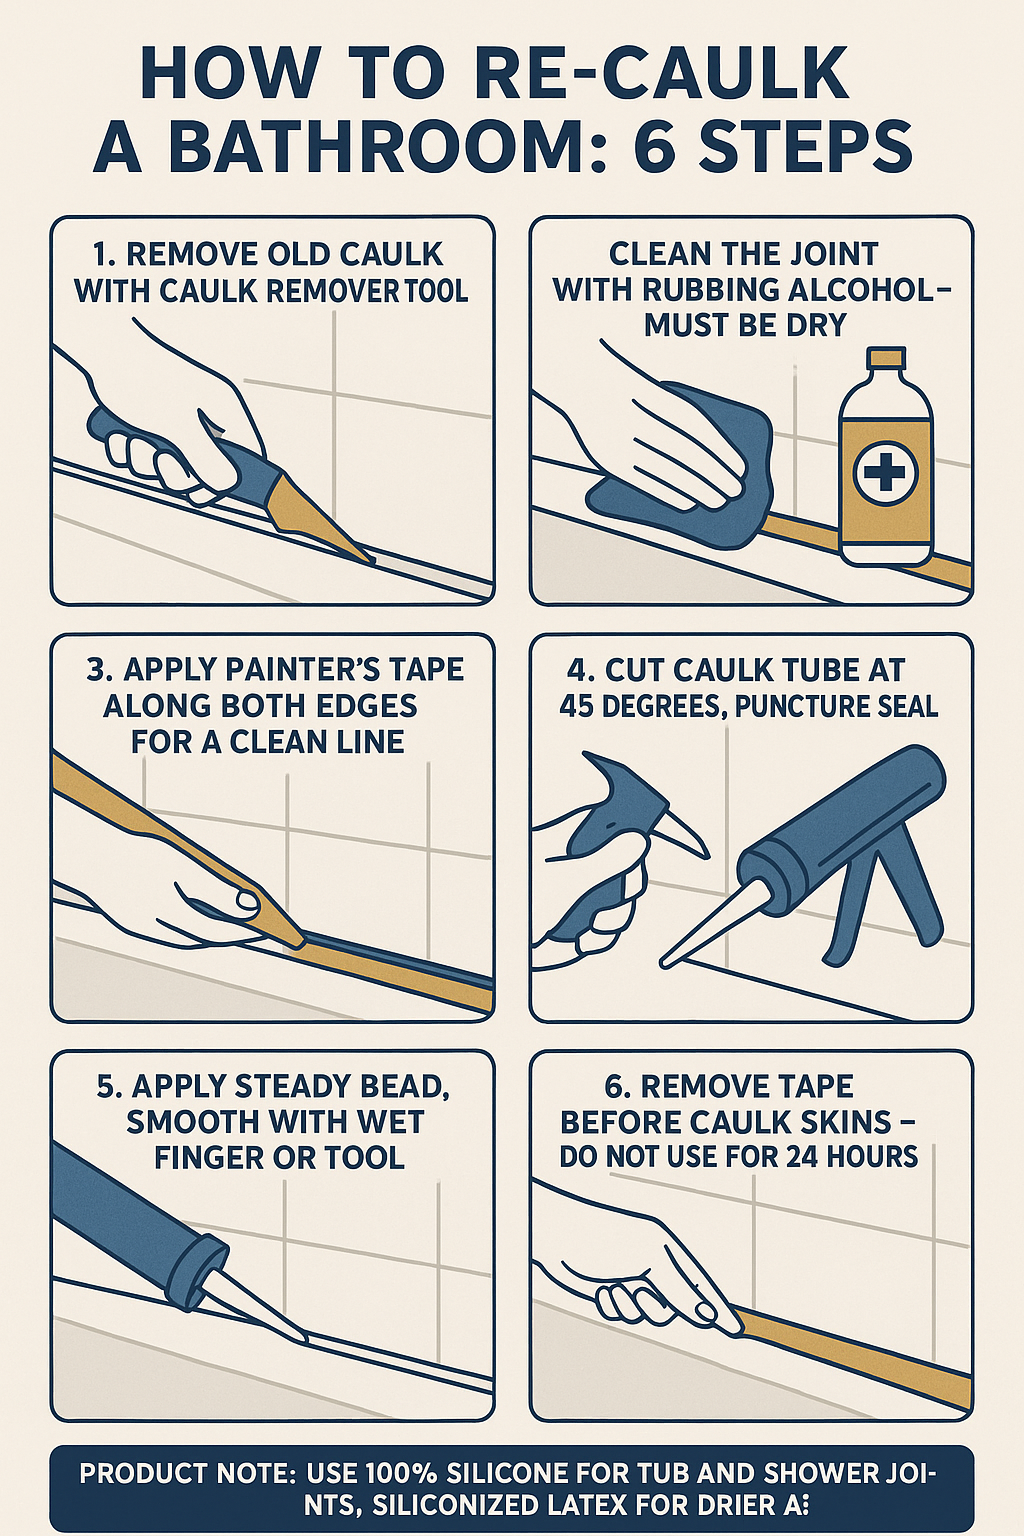
Apply painter’s tape: Place tape along both sides of the joint, leaving the joint itself exposed. This produces a clean, sharp caulk line and protects the tile surface.
Cut the nozzle: Cut the nozzle at a 45° angle, opening to approximately 4–5 mm — slightly smaller than the joint width. A smaller opening provides more control than a large opening.
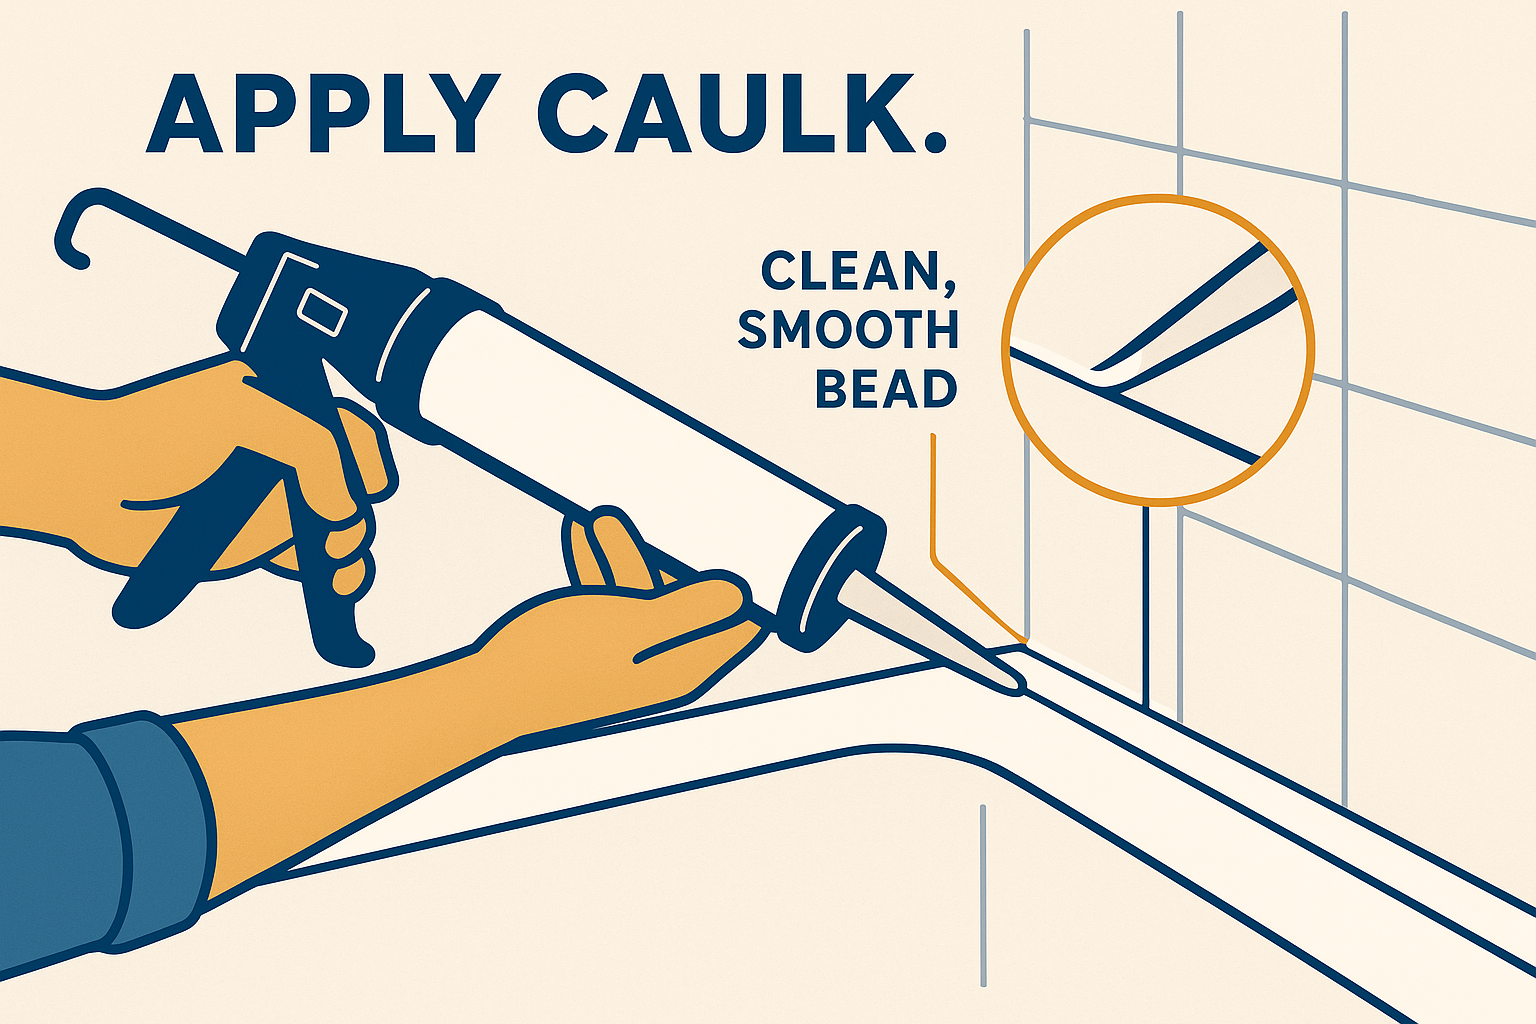
Fill the joint: Hold the caulk gun at 45° to the joint. Apply consistent pressure while drawing the gun smoothly along the joint in one continuous pass. Move at a steady pace — pausing causes blobs.
Tool the bead: Within 60–90 seconds of application (before the caulk begins to skin), smooth the caulk bead with a wet finger or plastic smoothing tool. Draw it along the joint in one continuous stroke, pressing the caulk into the joint and feathering the edges.
Remove tape: Remove the painter’s tape immediately after tooling, while the caulk is still wet. Pull the tape at a 90° angle away from the joint — pulling along the length of the joint risks pulling the caulk with the tape.
Cure time: Allow 24–48 hours before exposing the joint to water. Most silicone bathroom caulks specify a 24-hour cure before water exposure; check the product instructions.
For bathroom maintenance and renovation services in Ottawa, our team at Miracle Dream Homes handles caulking as part of complete bathroom renovations. For a full shower renovation that addresses waterproofing from the substrate outward, see our tub-to-shower conversion page.
For caulk product specifications and cure time requirements, manufacturers including GE Sealants and DAP provide technical data sheets for their bathroom caulk products.
Frequently Asked Questions
How long does bathroom caulk last?
Silicone bathroom caulk in a wet-zone application (shower or tub joint) typically lasts 3–7 years before needing replacement, depending on use frequency, surface movement, and cleaning products used. Siliconized latex caulk lasts 2–5 years in wet applications. Caulk at lower-stress joints (vanity, toilet base) may last significantly longer. Inspect annually and replace when cracking, separation, or mildew through the body is observed.
Can I caulk over existing caulk?
Not effectively. New caulk applied over intact old caulk does not bond properly and lifts or separates within a short time. Over old, cracked, or mildewed caulk, the result is worse. Removing the old caulk completely before applying new caulk is mandatory for a lasting result. This extra 30–60 minutes of prep determines whether the new caulk lasts 5 years or 5 months.
What causes bathroom caulk to turn black?
Black discoloration through caulk is mildew growth — fungal organisms that thrive in the warm, wet conditions of an active shower. The mildew grows through the caulk body, not just on the surface, making it impossible to clean out. When caulk is mildewed through its core, replacement is the only solution. Prevent mildew by using mould-resistant caulk formulations, improving bathroom ventilation, and keeping the shower surface dry between uses when possible.
Should I use sanded or unsanded caulk?
Caulk does not contain sand. The sanded vs. unsanded distinction applies to grout, not caulk. Caulk is either silicone-based or latex-based (with or without silicone additives). For bathroom wet-zone joints, use 100% silicone or a high-silicone-content bathroom caulk — match the colour to the grout for a clean result.