How to Clean and Maintain Bathroom Tile and Grout
Bathroom tile is easy to clean. Grout is not. The distinction matters because most homeowners approach tile and grout the same way — which usually means either under-cleaning the grout or over-cleaning it with products that cause damage over time.
Tile and grout are two different materials with different maintenance requirements. A cleaning routine that works for both produces a bathroom that stays clean and holds its appearance over years of use.
Cleaning Tile
Regular Cleaning
Ceramic and porcelain tile is non-porous or very low-porosity and does not absorb staining agents under normal conditions. For regular cleaning:
What works:
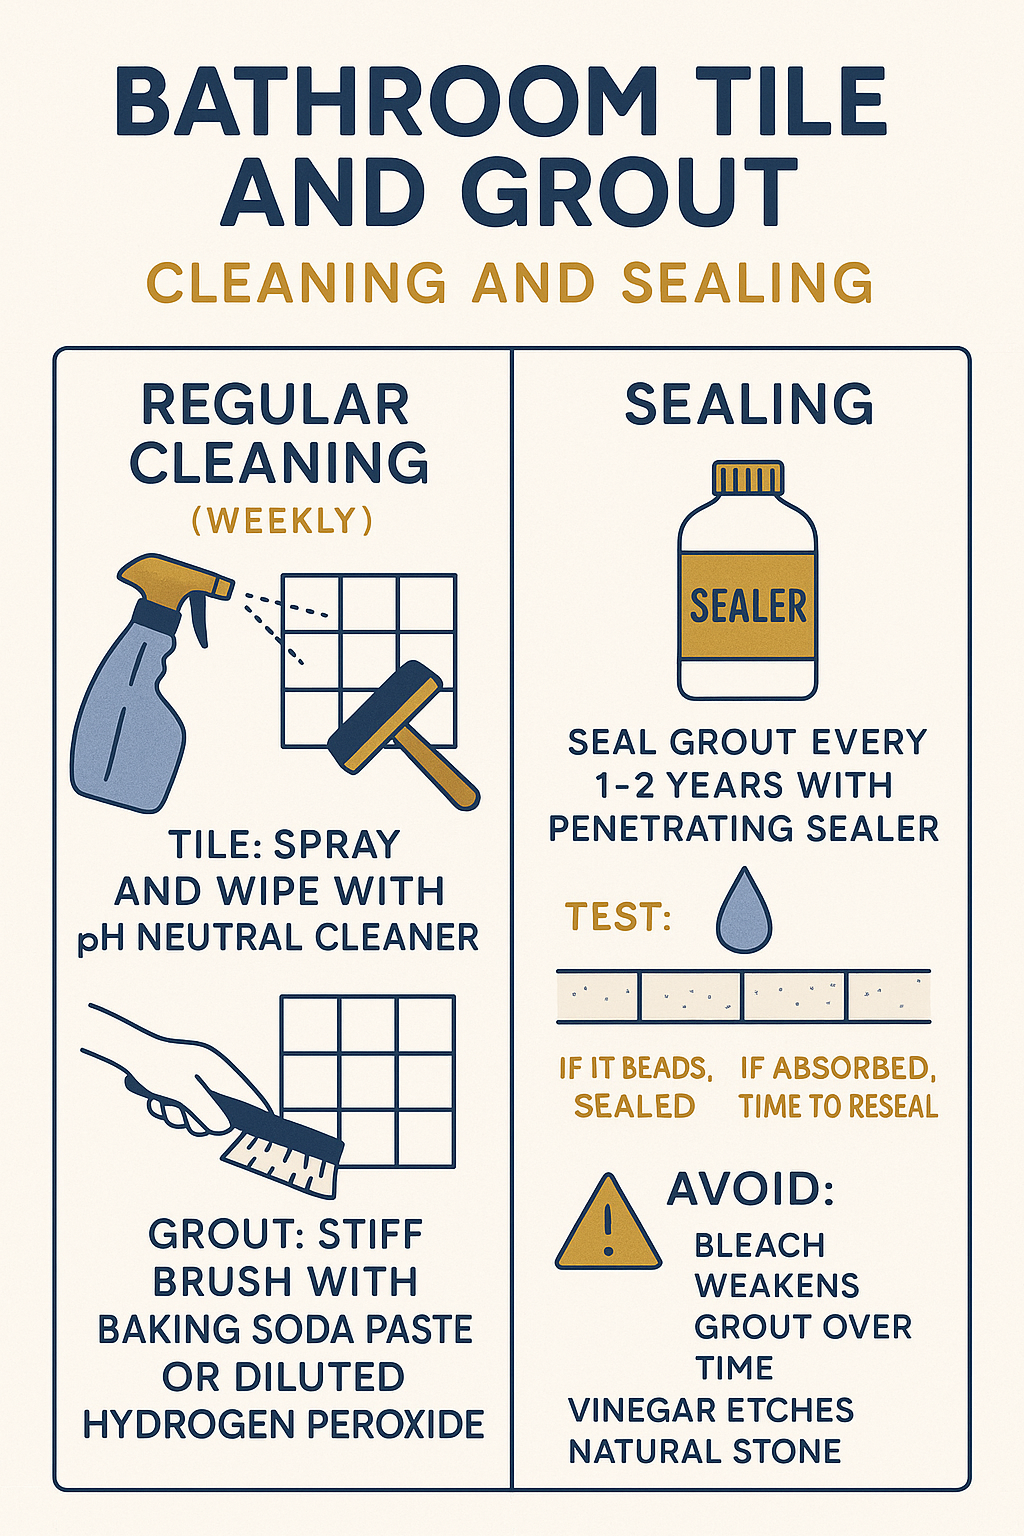
– A damp microfibre cloth or sponge with a pH-neutral bathroom cleaner
– Diluted dish soap and water
– Commercial tile cleaners rated for the tile type (avoid acidic cleaners on natural stone)
After each shower:
– Squeegee the shower walls to remove water droplets and soap residue before they dry
– This single habit reduces soap scum and hard water deposit buildup by 80–90% and significantly reduces how often the shower needs deep cleaning
Weekly:
– Wipe down shower walls and floor with a damp cloth or sponge, with or without cleaner
– Wipe the vanity area tile and counter
Natural stone tile: Marble, travertine, and limestone are sensitive to acidic cleaners. Use only pH-neutral or stone-specific cleaners. Never use vinegar, lemon juice, or bathroom cleaners with acids on natural stone — they etch the surface, leaving dull spots that require professional polishing to remove.
Soap Scum and Hard Water Deposits
Ottawa’s municipal water has moderate mineral content (hardness), which produces visible white or off-white deposits on tile and glass surfaces when water evaporates. Soap scum is a separate issue — a residue of soap, minerals, and body oils that accumulates on surfaces over time.
For light deposits: A solution of equal parts white vinegar and water, applied and left for 5–10 minutes, dissolves mineral deposits on porcelain and ceramic tile. Rinse thoroughly.
For heavy deposits: A dedicated hard water / calcium deposit remover (CLR, Lime-A-Way, Bar Keepers Friend) applied per manufacturer instructions removes stubborn mineral buildup. Test on a small area first.
For natural stone: Do not use acid-based descalers on marble, travertine, or limestone. Use a pH-neutral stone cleaner and mechanical scrubbing for deposits. Heavy deposits on natural stone may require professional treatment.
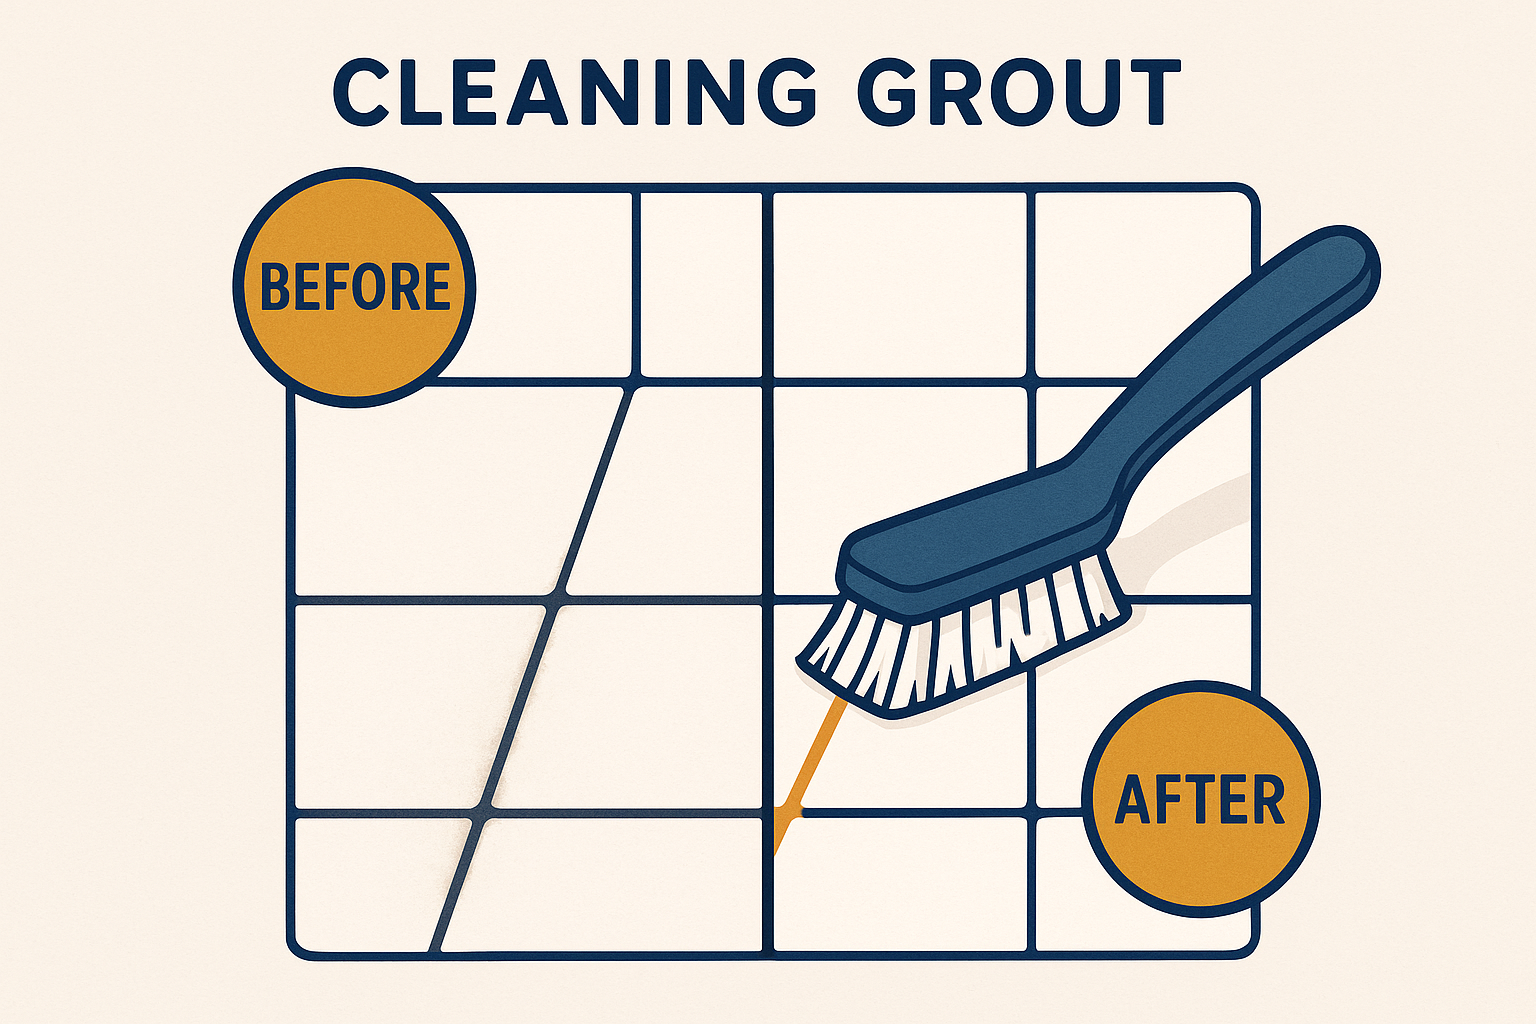
Cleaning Grout
Grout is porous (cement-based grout) or semi-porous and stains more readily than tile. It also discolours from accumulated soap film, body oils, mould, and mildew in the shower zone.
Routine Grout Cleaning
For normal maintenance:
- Apply a bathroom cleaner or a paste of baking soda and water to the grout lines
- Scrub with a stiff-bristled grout brush (a dedicated narrow brush, not a general scrubbing pad)
- Rinse thoroughly
The grout brush matters — a wide sponge or cloth sits on top of the grout surface; a narrow brush gets into the grout joint depth where the discoloration is.
Mildew on shower grout: Mix one part bleach to four parts water. Apply to grout lines, allow to sit 10–15 minutes, scrub, and rinse thoroughly. Ensure the bathroom is well-ventilated during this process. Bleach effectively kills mildew but does not remove the stain — physical scrubbing removes the residue after the bleach treatment.
Hydrogen peroxide alternative: For grout in lighter-coloured tile where bleach may affect adjacent materials, a 3% hydrogen peroxide solution (standard pharmacy hydrogen peroxide) applied to grout and left for 10 minutes before scrubbing is an effective, lower-risk alternative.
What Damages Grout
- Steam cleaners on unsealed grout: High-pressure steam cleaning removes grout sealer and accelerates grout deterioration. Use steam cleaners only on sealed grout, and reseal after.
- Wire brushes or abrasive scrubbing pads: These scratch and remove the grout surface, accelerating staining
- Acid cleaners on cement grout: Acidic cleaners (vinegar, commercial lime removers) dissolve the cement binder in unsanded and sanded grout, softening and eroding the joints over time. Use acid cleaners on tile only, not on grout.
Grout Sealing
Cement-based grout (sanded and unsanded) is porous and absorbs staining agents. Sealing grout creates a barrier that slows moisture and stain absorption.
When to seal: After installation (initial sealing), grout should be sealed once it has cured (typically 72 hours after installation for cement grout). Reseal annually or when the water-repellency test shows absorption.
Water-repellency test: Drip water onto the grout surface. If the water beads and sits on the surface, the sealer is intact. If the water soaks into the grout within a few seconds, it is time to reseal.
How to apply sealer: Apply a penetrating grout sealer (not a coating) with a small brush or foam applicator, working it into the grout joints. Wipe excess from tile surfaces within the manufacturer’s specified time. Allow to cure per instructions before wetting the surface.
Epoxy grout does not need sealing. Epoxy grout is non-porous and inherently stain-resistant. If the shower was tiled with epoxy grout, sealing is not required.
When to Re-Grout or Replace Grout
Grout that is cracked, crumbling, or missing sections provides a path for water to reach the substrate behind the tile. This is the condition that leads to tile delamination, substrate damage, and ultimately mould in the wall structure.
Signs that grout needs replacement rather than cleaning:
– Cracking along grout lines
– Sections of grout missing or fallen out
– Soft or sandy grout that crumbles when touched
– Discoloration that does not improve with cleaning (may indicate subsurface mould)
Re-grouting — removing old grout and replacing it — is within the capability of a skilled DIYer. See our article on how to re-grout a shower for a step-by-step guide.
For bathroom tile and grout work as part of a full renovation or targeted repair in Ottawa, our team at Miracle Dream Homes handles tile repair, grout replacement, and complete shower renovation. See also our tub-to-shower conversion page for shower renovation services.
For tile cleaning product guidance, the Tile Council of North America (TCNA) and the Natural Stone Institute provide material-specific cleaning guidance for ceramic, porcelain, and natural stone tile applications.
Frequently Asked Questions
How often should bathroom grout be sealed?
Cement-based grout should be sealed annually as a maintenance standard. More precisely, reseal when the water-repellency test shows the sealer has worn — drip water on the grout, and if it absorbs within a few seconds rather than beading on the surface, it is time to reseal. High-use showers may need resealing every 6–12 months; lower-use bathrooms may go 2–3 years between sealings.
Can I use bleach to clean grout regularly?
Bleach is effective for killing mildew and lightening stained grout, but it is not ideal for regular use. Frequent bleach application can degrade cement grout over time, bleaching out the colour and weakening the binder. Use bleach for targeted mildew treatment, not as a regular weekly cleaner. A pH-neutral bathroom cleaner with a grout brush is appropriate for regular maintenance.
What is the best way to clean heavily stained grout?
For heavily stained cement grout: apply a commercial grout cleaner or a baking soda paste, scrub with a stiff grout brush, and rinse. If mildew staining remains, apply a 1:4 bleach-water solution, leave 10–15 minutes, scrub, and rinse thoroughly. For staining that does not respond to cleaning, re-grouting — removing the old grout and replacing it — produces the cleanest result without tile replacement.
Why does my shower grout keep turning black?
Black discoloration in shower grout is almost always mildew — a fungal growth on the grout surface and within the porous grout structure. It develops in conditions of moisture, warmth, and reduced air circulation. To prevent it: improve bathroom ventilation (run the exhaust fan for 20–30 minutes after showering), squeegee shower walls after use, keep the shower dry between uses when possible, and seal grout annually. For existing black mildew, bleach treatment removes the surface growth; if the mildew is within the grout structure, re-grouting is the definitive solution.